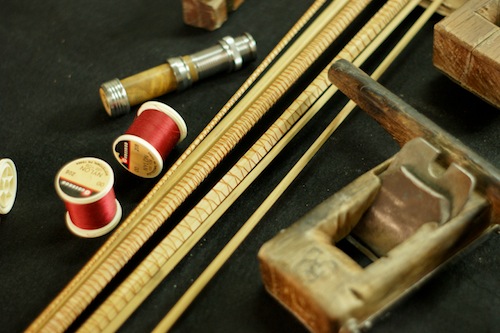
記憶が曖昧ではありますが、このロッドは1996年か1997年にミシガン州ロチェスターにあるPaint Creek Outfittersという釣具屋さんで、バンブーロッド製作のためのお手本として購入しました。その後、バンブーロッドは未だに製作しておらず、このロッドはお手本というより、フィールドで実際に使用するお気に入りの一本になりました。折れた竿先は崖の下に落ちていったので、修復は不可能であると思っていました。短くして治すという発想がなかったからです。
Visually study both syringes to become familiar with the graduated markings and to check for equal contents of the syringes. Have paper towels handy for clean up of any drips or spills. In cold weather, make sure finish is warmed prior to mixing for better results. See Helpful Tip #1. Support your rod horizontally. See Helpful Tip #9.
Dispense from syringes equal portions of resin A and hardener B into mixing cup included. 3cc of each part should finish an average rod.
Mix thoroughly with stir stick included. Mixture at first will become cloudy, then clear when thoroughly mixed.
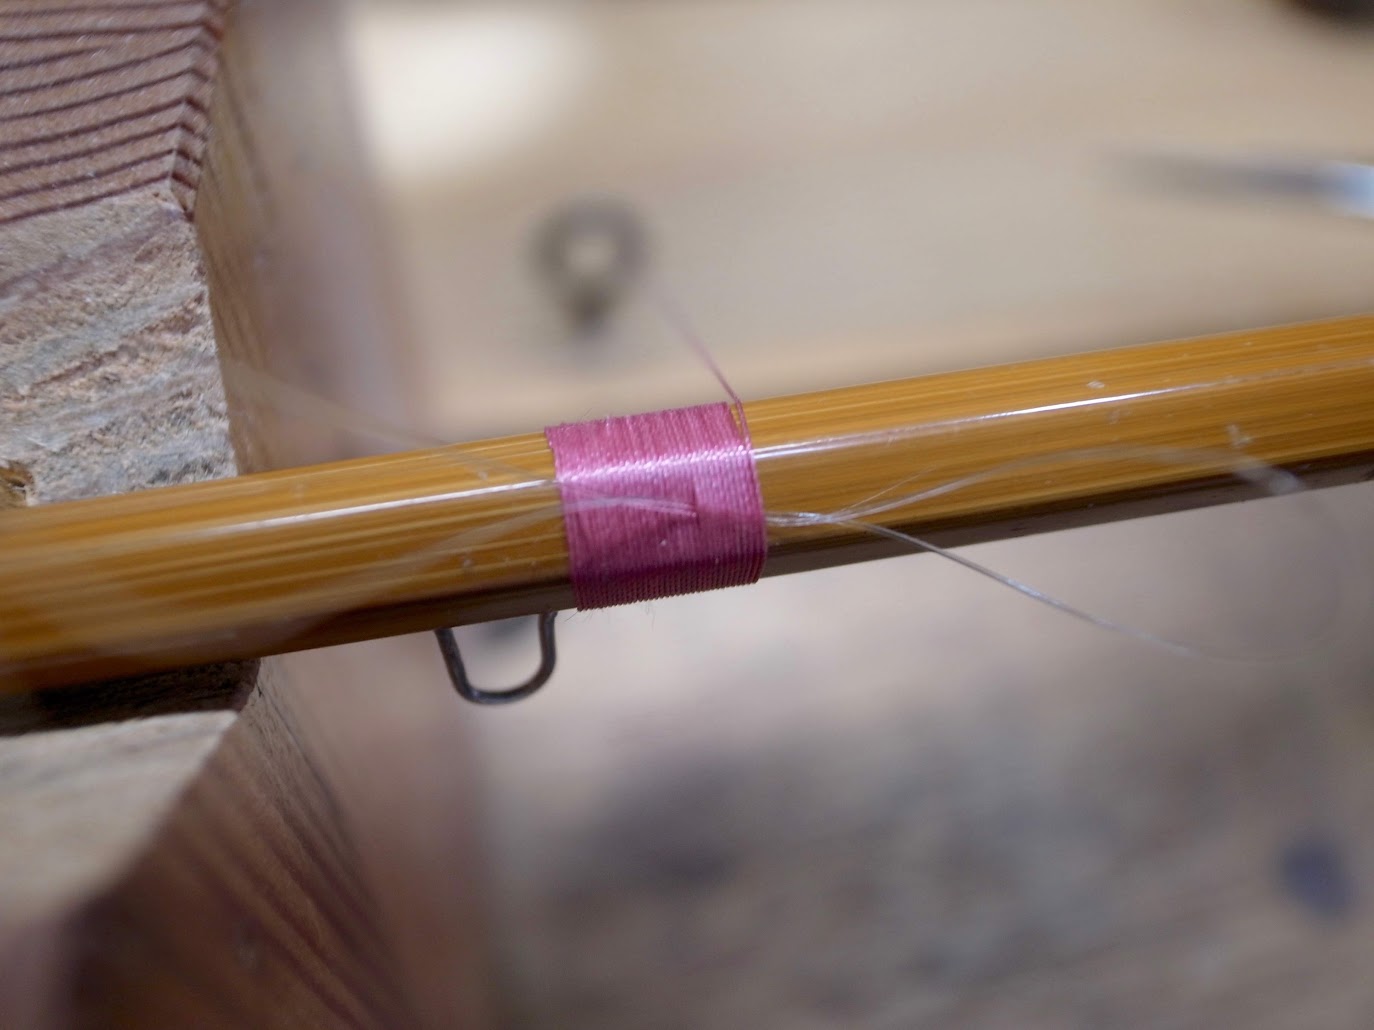
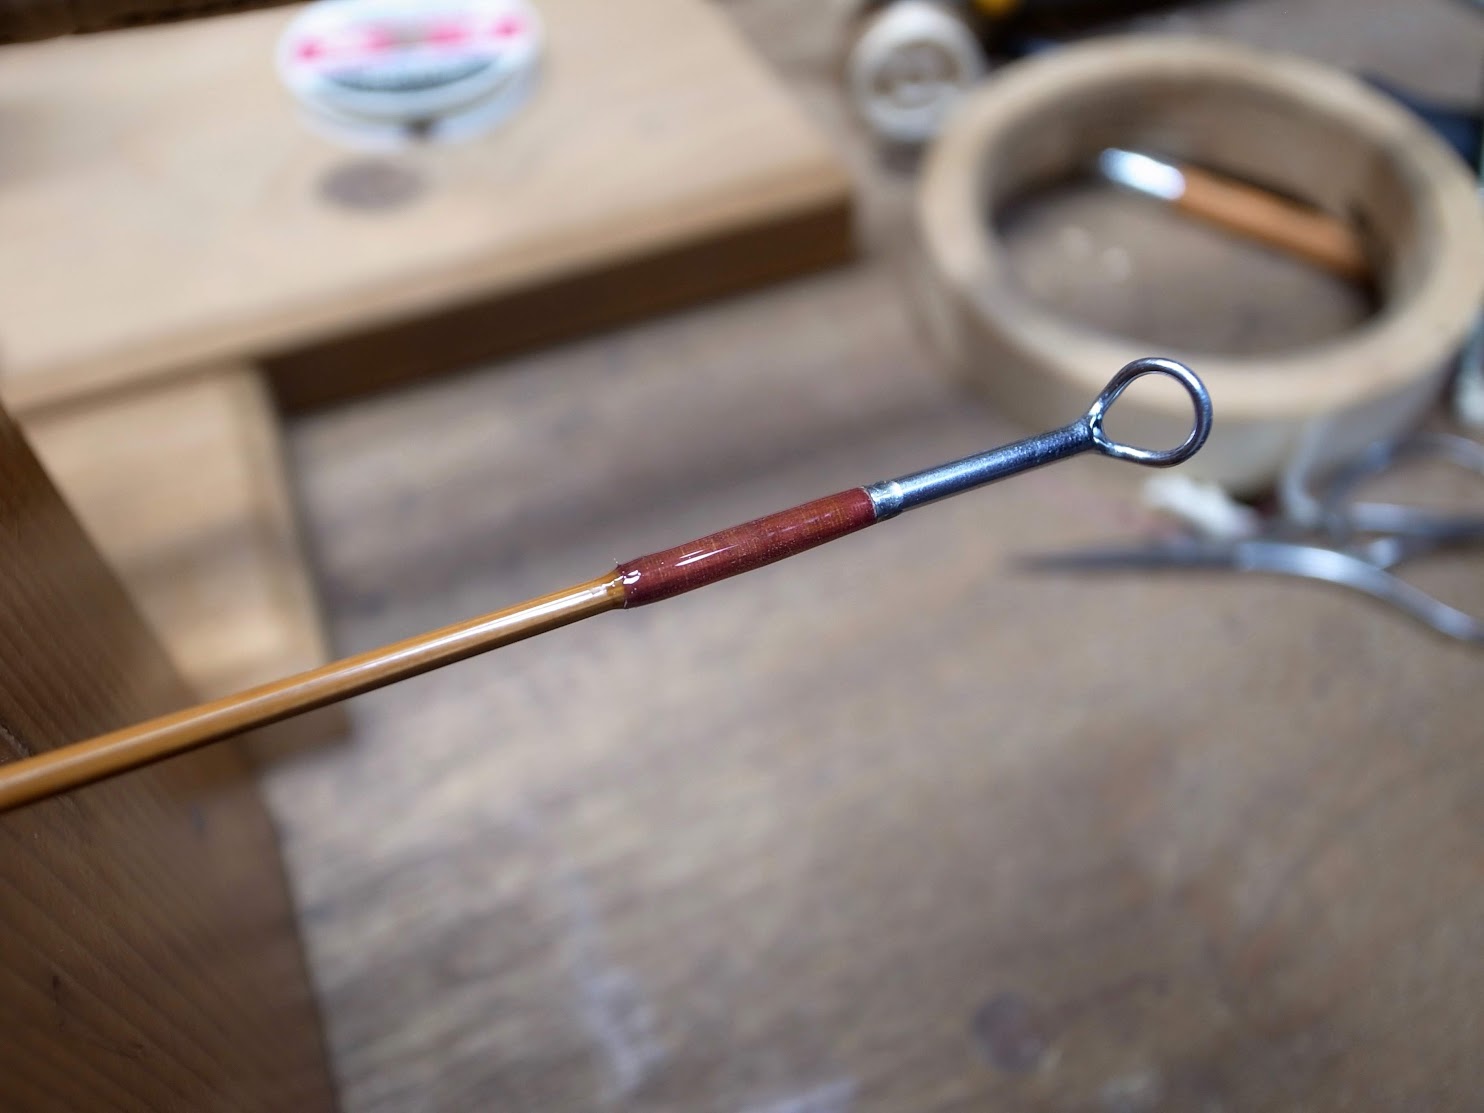
While rotating the rod, use a brush to apply the Flex Coat mixture to the rod wraps. Extend the finish slightly over the ends of the wraps to completely protect them. Coat all wrappings quickly, working around the rod to apply the finish. Apply a little more finish than needed to allow the finish to soak in. If required, remove excess later when leveling the finish. Let stand a few minutes and then level out the finish with lengthwide brush strokes.
For even drying, rotate the rod ½ turns as needed to prevent sagging of the finish. Depending upon the thickness of the finish and the ambient temperature, rotate the rod from 15 minutes to 1½ hours. Flex Coat will set to touch in about 6 hours. A small slow gear motor (one to 30 rpm) can be used to continually turn the rod also. If desired, more than one coat may be applied without any surface preparation of previous coat.
Heating both A and B resins prior to mixing aids in measuring, mixing, and application of the epoxy finish. Heating thins the two parts and aids in thorough mixing. This heat thinning releases bubbles trapped in the finish during mixing and allows the finish to soak into the wraps more rapidly. Heat the A and B syringes with a lamp, hair dryer, or other heat source until the syringes are no longer cool to the touch, but not hot (about 80 to 90). On warm days this will not be necessary.
It is recommended to dispense a minimum of 2cc from each syringe to insure accurate measurement.
Bubbles surfacing at the base of guides and trapped under the finish can be popped by gently blowing on the bubbles.
Unequal measurement of resin and hardener, incomplete or poor mixing of the two part epoxy may result in an uncured, "sticky" finish. To correct recoat the wraps, taking care to measure and mix thoroughly. A well mixed coat over a slightly sticky finish should cure the problem.
Occasionally a frayed end or stick-up of thread may project from a finish. To correct this, allow the finish to dry and then slice off this projection with a sharp knife or razor. Recoat the wrap with Flex Coat Rod Finish.
Yellowing of the finish can result from reaction with lacquer-based color preservers, incomplete mixing, or unequal portions of resins A and B.
Damaged guides are best removed by shaving or plaining through the Flex Coat finish and thread with a razor knife down to the rod blank. Solvents will not work for cured finish removal.
Under certain circumstances (such as when stored in cold areas), epoxy resin part A will crystalize much in same way as honey will crystalize. To restore the resin to its original state, heat the syringe in hot, not boiling water. NOTE: This crystalizing absolutely does not damage Flex Coat Finish.
If you do not have a rod support for finishing, cut small "Vs" into the top of a cardboard box to support the rod while finishing.
Flex Coat products are available through most rod component suppliers. If you are unable to locate what you need call us for the name of your Flex Coat dealer.